Personalized label for a birthday gift
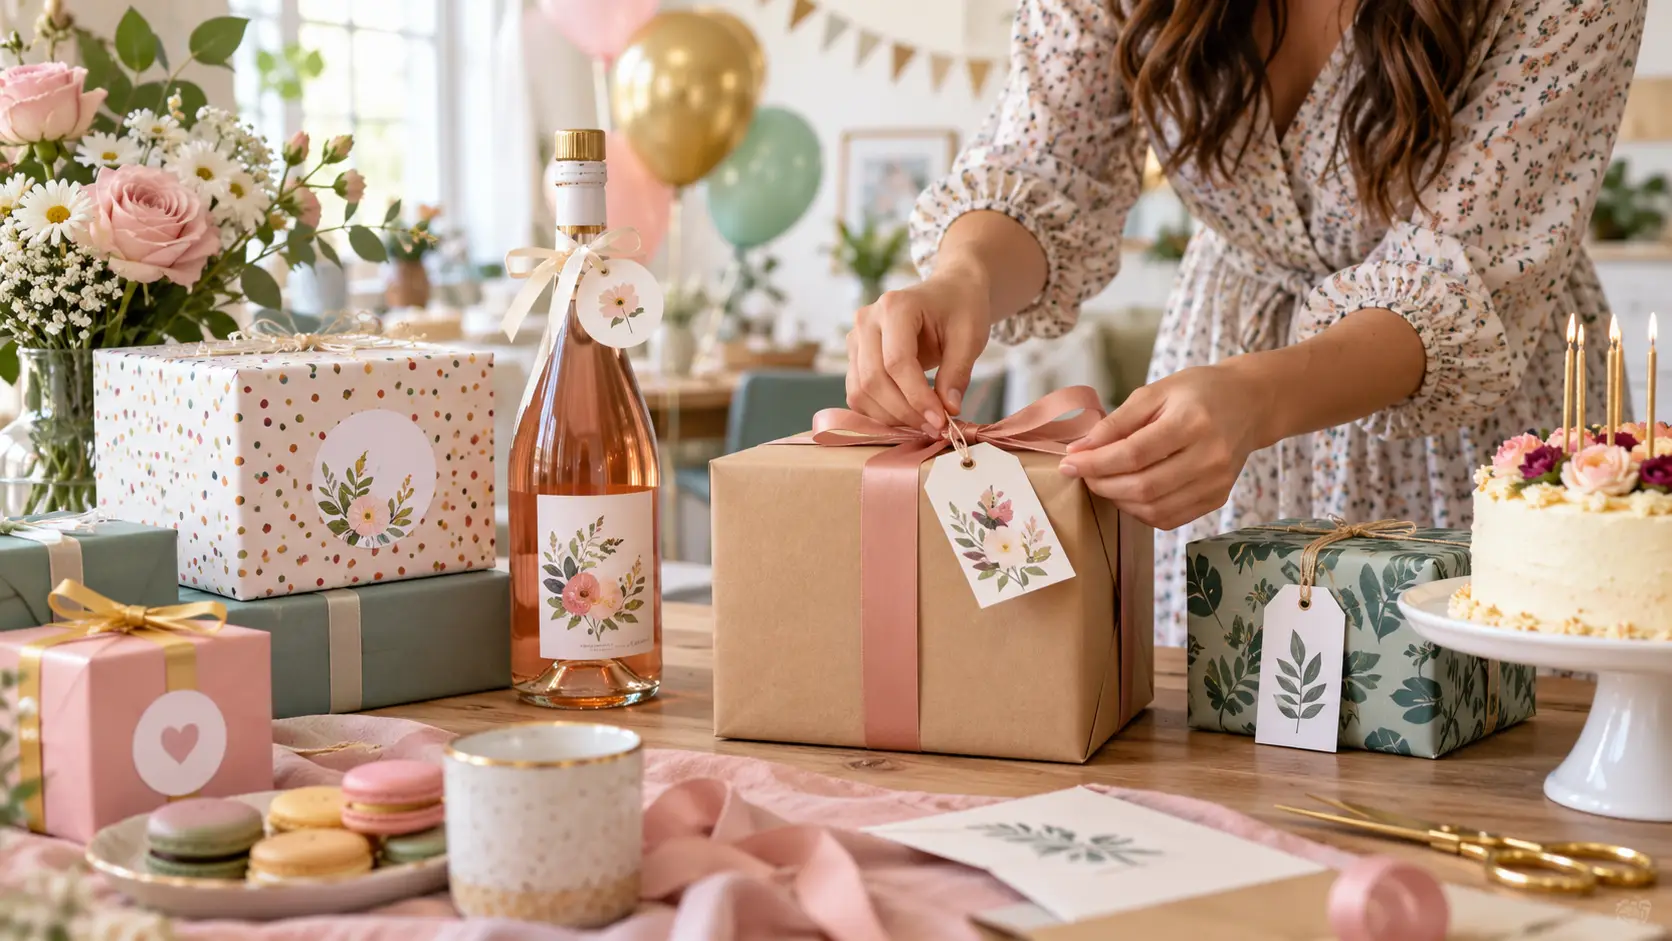
A personalized birthday gift label indicates who the package is intended for and completes its decoration. Its text, format, and material are chosen according to the gift, whether it is ordered online or printed at home, and applying it requires a few precise steps.
What text should you write on a birthday label?
Space is limited on a label: every word must have a reason to be there. Start by determining the order of the information. The font and message size come next.
Information to include
The recipient's first name naturally takes centre stage. A short message accompanies it without overwhelming the overall design. If there is space left, a signature, the date or the age being celebrated can complete the text.
A name that's easy to spot
Once the hierarchy has been established, the readability of the first name takes precedence over everything else. Three settings determine it:
- A simple font plain letters can be read at a glance.
- A striking contrast Dark text on a light background, or vice versa, stands out better than tone-on-tone.
- The front reserved for the first name When several gifts are handed out, everyone can quickly find theirs.
A message tailored to the available space
The longer the text, the more space it requires. You will therefore need to enlarge the label or reduce the font size. The back offers another solution: it holds the message, leaving the front for the first name.
There is no need to start from scratch. A generic gift label template becomes a birthday label as soon as its text, colours and design are adapted. The same applies to a christening or wedding template: only the date, message and colours change.
Which label should you choose for your gift?
Once the text is set, the surface imposes its own constraints. A packet, a bottle or fabric packaging each require a different format, material and fastening method.
The format on a packet or a box
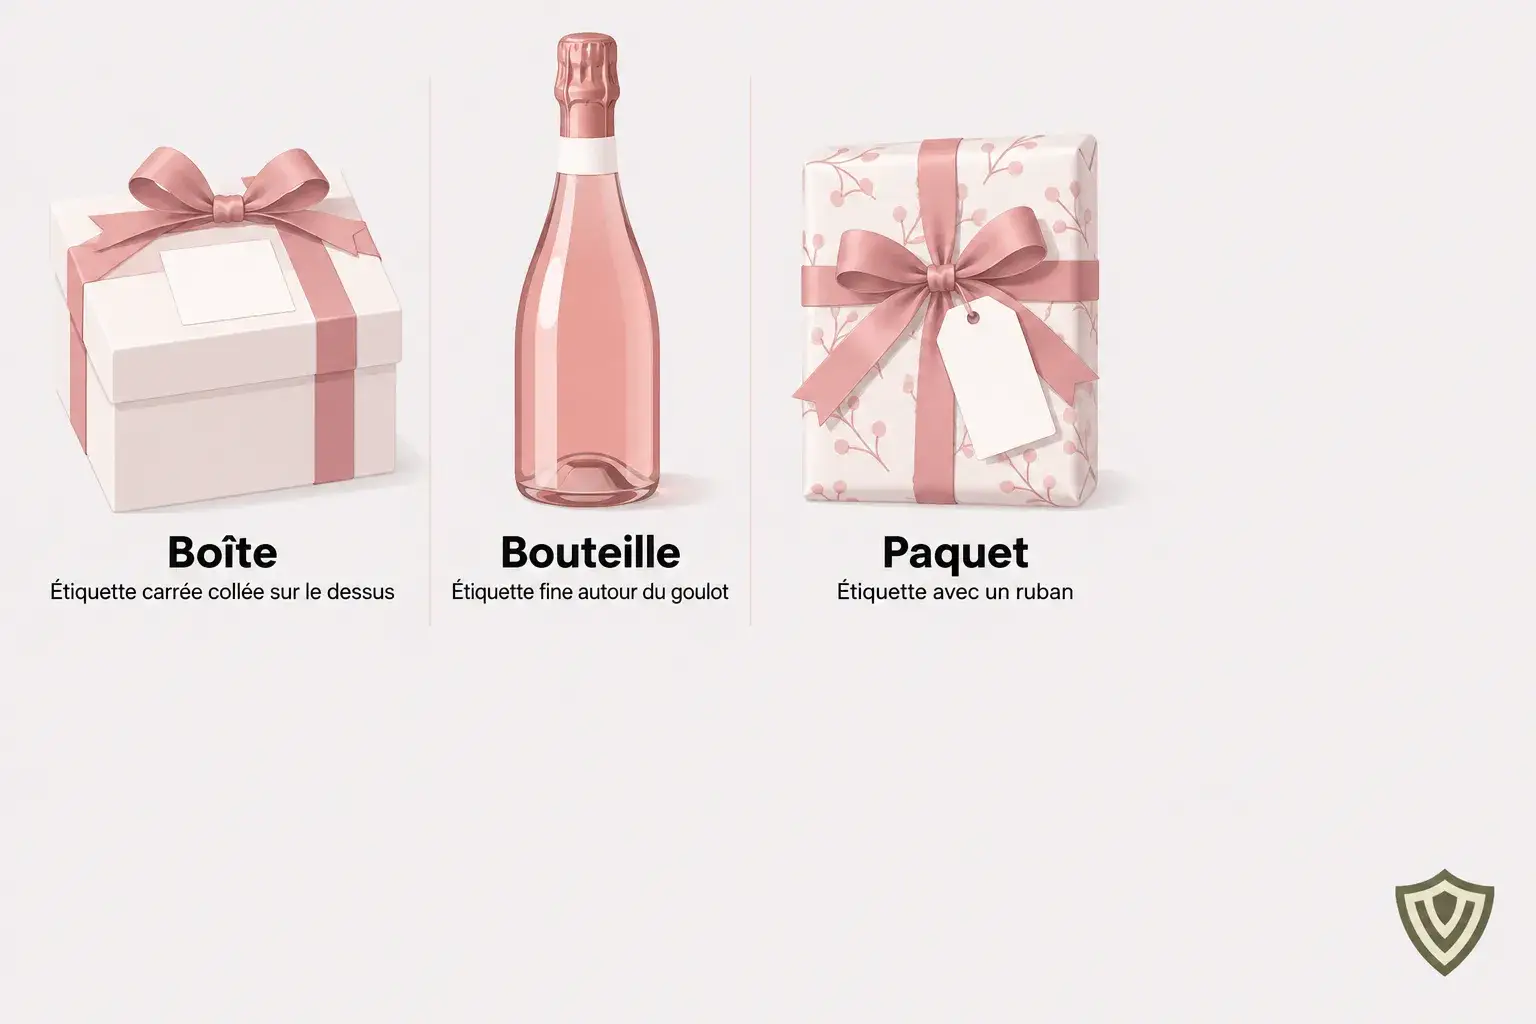
On a box, pouch or packet, measure the surface area that is actually available. Also note any folds, flaps, closures and handles: the overall size of the packaging matters less than this free area.
The shape depends on the amount of text. A rectangle generally leaves more room for the name and message than a circle.
Prefer a flat surface. The label is easier to read there, whereas if it straddles an edge or crease, it may lift.
The material on a bottle or packaging
A personalized label for a birthday bottle should be sized according to the usable cylindrical area: embossing, seams, shoulders and curvature reduce this surface. If it is too large, the label may wrinkle or peel off.
The difference comes down to the material chosen. Paper, including kraft or textured paper, is suitable for a gift that stays dry but does not hold up well to humidity and condensation. For a bottle or jar exposed to cold or water, a plastic film, especially polypropylene, holds up better.
Fastening based on the packaging to be preserved
A self-adhesive label is applied directly to the surface. In contrast, a non-adhesive label is attached using, for example, a fastener, string or ribbon.
This choice depends on what will be kept. On paper, a bag or fabric intended for reuse, an attached label avoids permanent adhesive. On a rigid box or fragile surface, a removable or attached version reduces the risk of tearing off fibres or a coating during removal.
Make or order your label online?
Once the format and material have been chosen, all that remains is production. There are two options: order a label that is already printed and cut, or print it yourself.
Create a label with the Votre Étiquette editor
Votre Étiquette offers more than 500 designs or a blank page to create a label starting from a single copy. The online editor offers several settings:
- Texts and fonts First name, message and date can be freely customized.
- Colours, images and logos The design matches the theme of the celebration.
- Instant preview Every change is displayed during creation.
Printing takes place in the Votre Étiquette workshop in France, on adhesive material. The labels are cut to the chosen size and shape, ready to be applied.
What sets personal printing apart
Printing at home requires an exported file and a medium compatible with the printer. Depending on the format, cutting may still need to be done by hand. On plain or cardstock paper, the result is not self-adhesive and requires separate attachment.
Quantity also affects the packaging. A single sticker is enough for one gift. Sheets are better suited to small quantities applied by hand, while rolls are ideal for large runs.
Pre-approval checks
An error in the file will appear on all printed labels. Before confirming, review these four points:
- First name reread letter by letter, including accents.
- The message and the date without errors or transposed digits.
- Dimensions compared with the available area on the packaging.
- The text well contrasted and outside the technical margins, i.e. the edge band that may be affected by cutting.
The date of the event, however, does not change. Distinguish between production time and delivery time, then allow some leeway.
How do you apply a self-adhesive label flawlessly?
Once you receive your label, the application determines the final result. A few simple steps help prevent bubbles, creases and lifting corners.
Prepare the label and backing
First, check the label you received: text, orientation, dimensions, and colours. It is better to spot any discrepancy before application than once the label has been applied.
The material is then prepared in three stages:
- Clean Remove dust, grease and moisture.
- Allow to dry The surface must be completely dry before application.
- Keep hands clean Dry fingers do not leave greasy marks under the adhesive.
For an extremely cold or hot surface, check the application conditions permitted by the manufacturer.
Apply to a flat surface
On a box or package, application starts from one edge of the label.
Then gradually work your way toward the opposite edge, without pressing down the entire surface at once. The air escapes as you go.
For a large label, a rigid card or a squeegee helps smooth it down and reduces air bubbles.
Stick onto a bottle
Stabilize the bottle before positioning the label. Place it without immediately pressing down over the entire surface, then smooth from the center outward to remove any air.
Glass has its pitfalls: moisture and convex or concave irregularities reduce adhesion and encourage lifting. Dry glass and a smooth, even area hold better.