Hexagonal honey label design: tips and templates
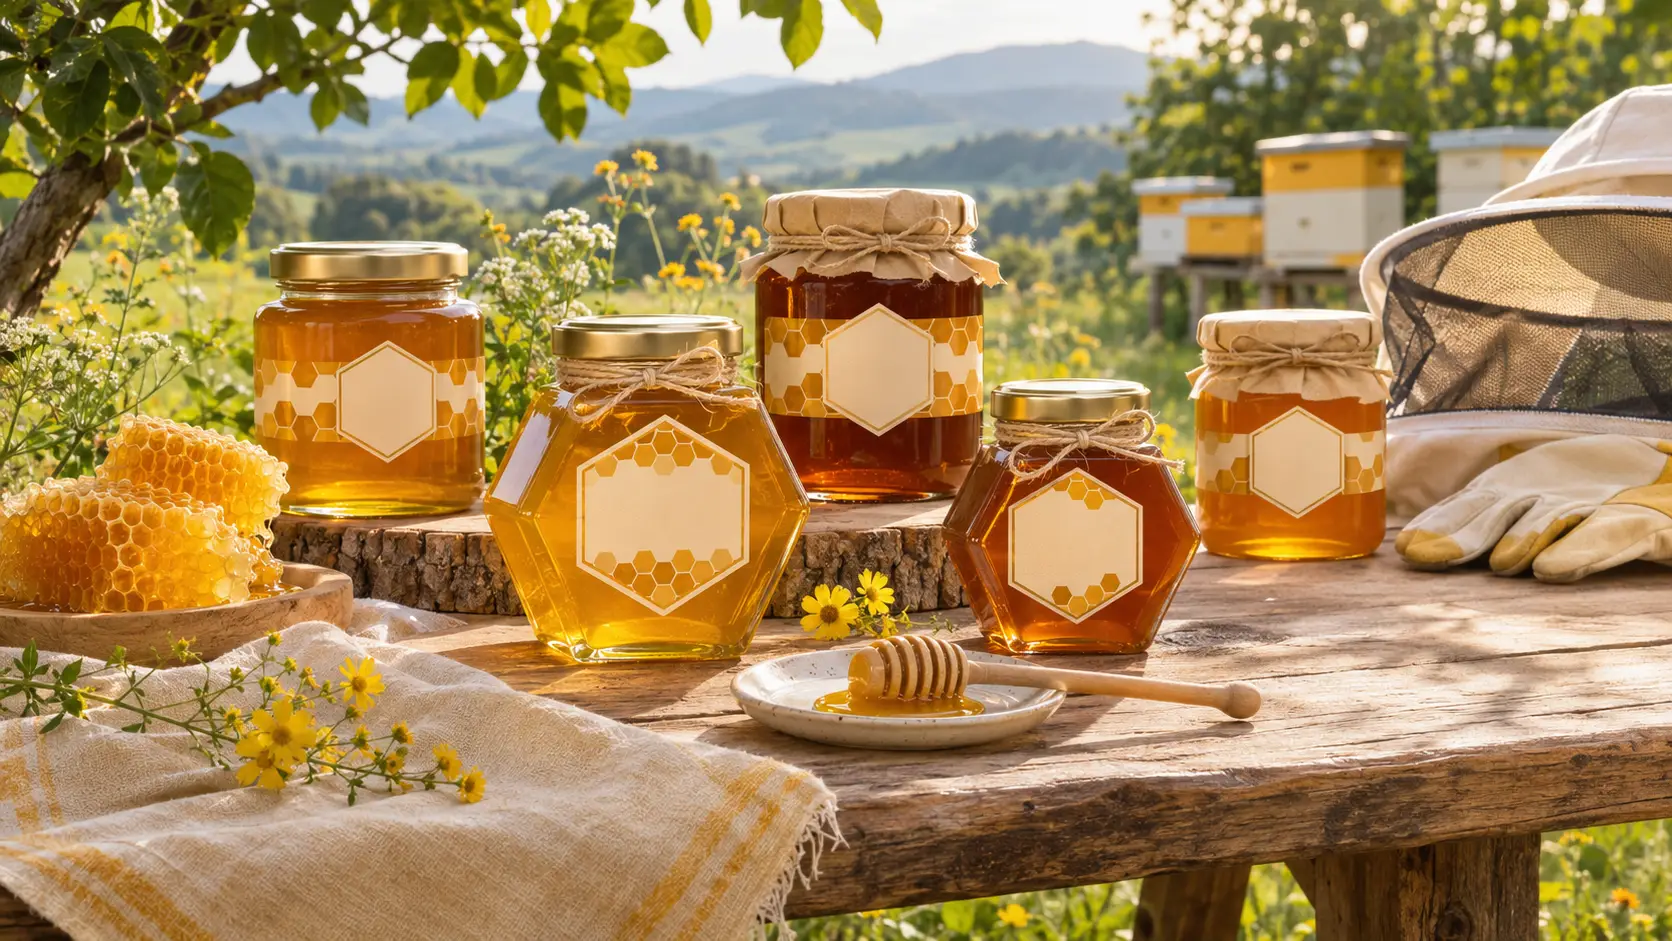
A successful hexagonal honey label combines the image of the beehive with food labelling requirements. The design includes a honeycomb pattern, clearly positioned mandatory information, a shape suited to the jar, and a print-ready file tested before printing.
Create a readable hexagonal honey design
The hexagon evokes wax cells and immediately connects the jar to the world of beekeeping. On a honey label, this shape can serve several purposes: as a background, a frame, or an emblem. The chosen design then determines how much space remains for text.
Create a honeycomb pattern
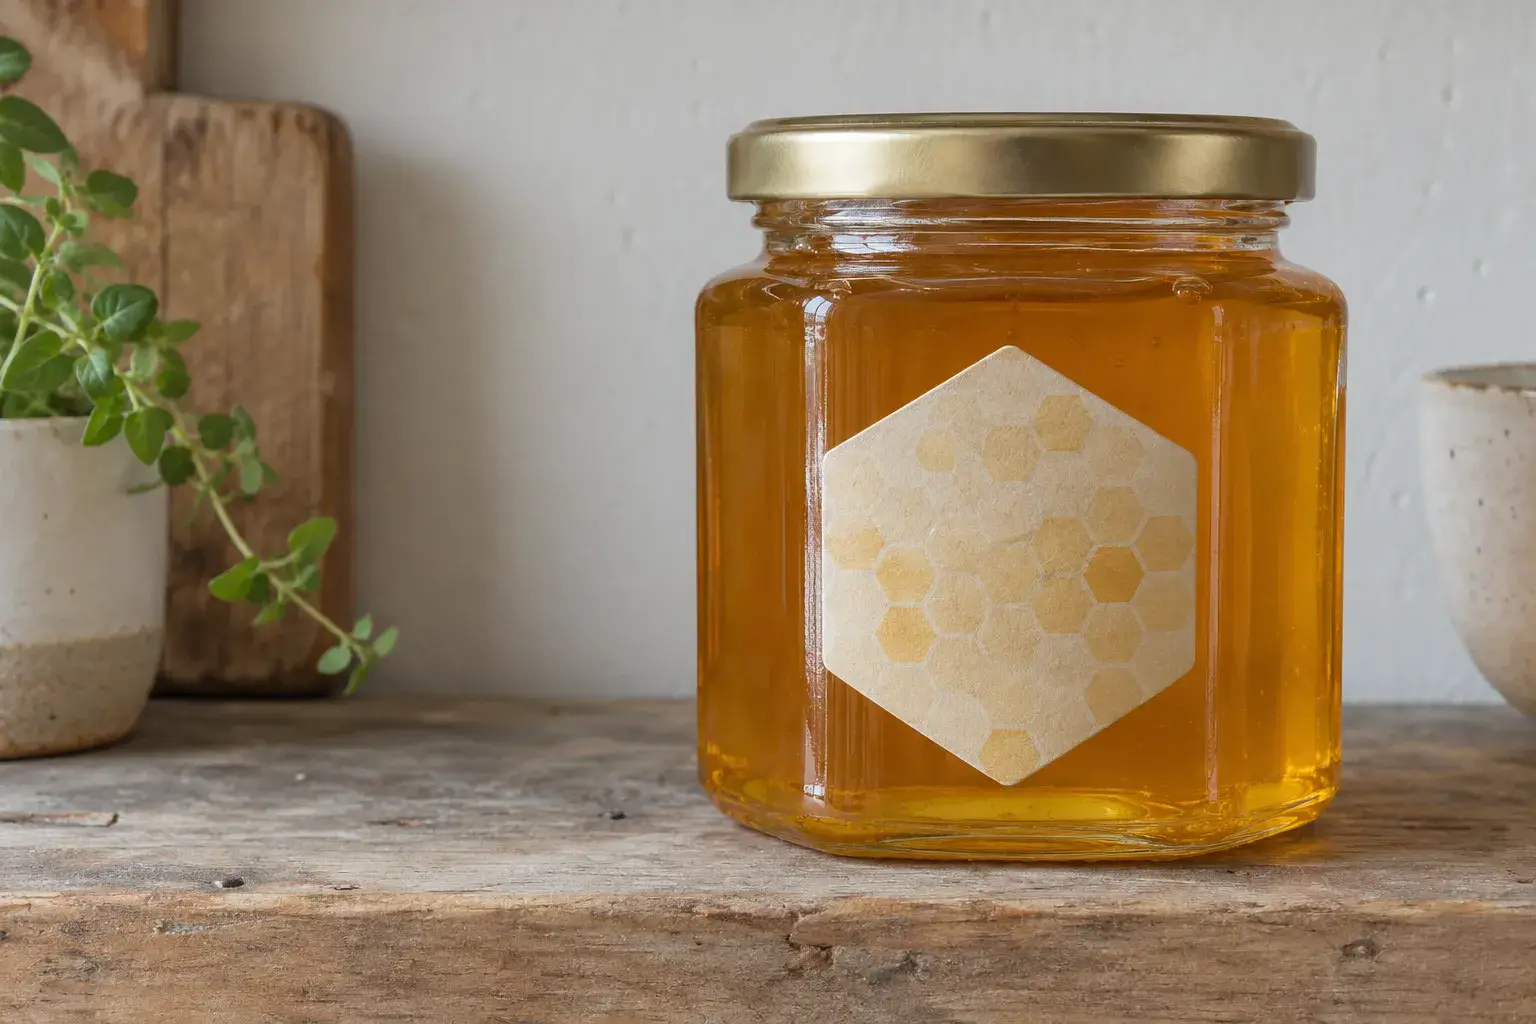
The pattern starts with a regular hexagon: six equal sides. Then set a repeat interval. The shapes share their edges in a seamless pattern, or remain separated by consistent spacing. Every other row is offset horizontally, then the joins are checked on all four sides of the repeated block.
- Tone-on-tone background The honeycomb pattern covers the label in a shade close to the background, without competing with the title.
- Side border The pattern is concentrated on the sides, leaving the center clear.
- Unique hexagon A single shape serves as an emblem, with no pattern covering the entire surface.
Behind the mandatory information, the lines and intersections of the pattern interfere with readability. A lighter pattern, or one limited to the edges, solves the problem right from the design stage.
Arrange the design and text
A clear composition separates three areas: the name in the center, the illustration in a secondary area, and the required information in a dedicated space. Essential text remains away from the points of the hexagon, folds, and overlaps. For typography, a decorative font works well for the title, while simple, high-contrast type is better suited to smaller information. Votre Étiquette recommends a legible white title, a contrasting border, and spacious areas.
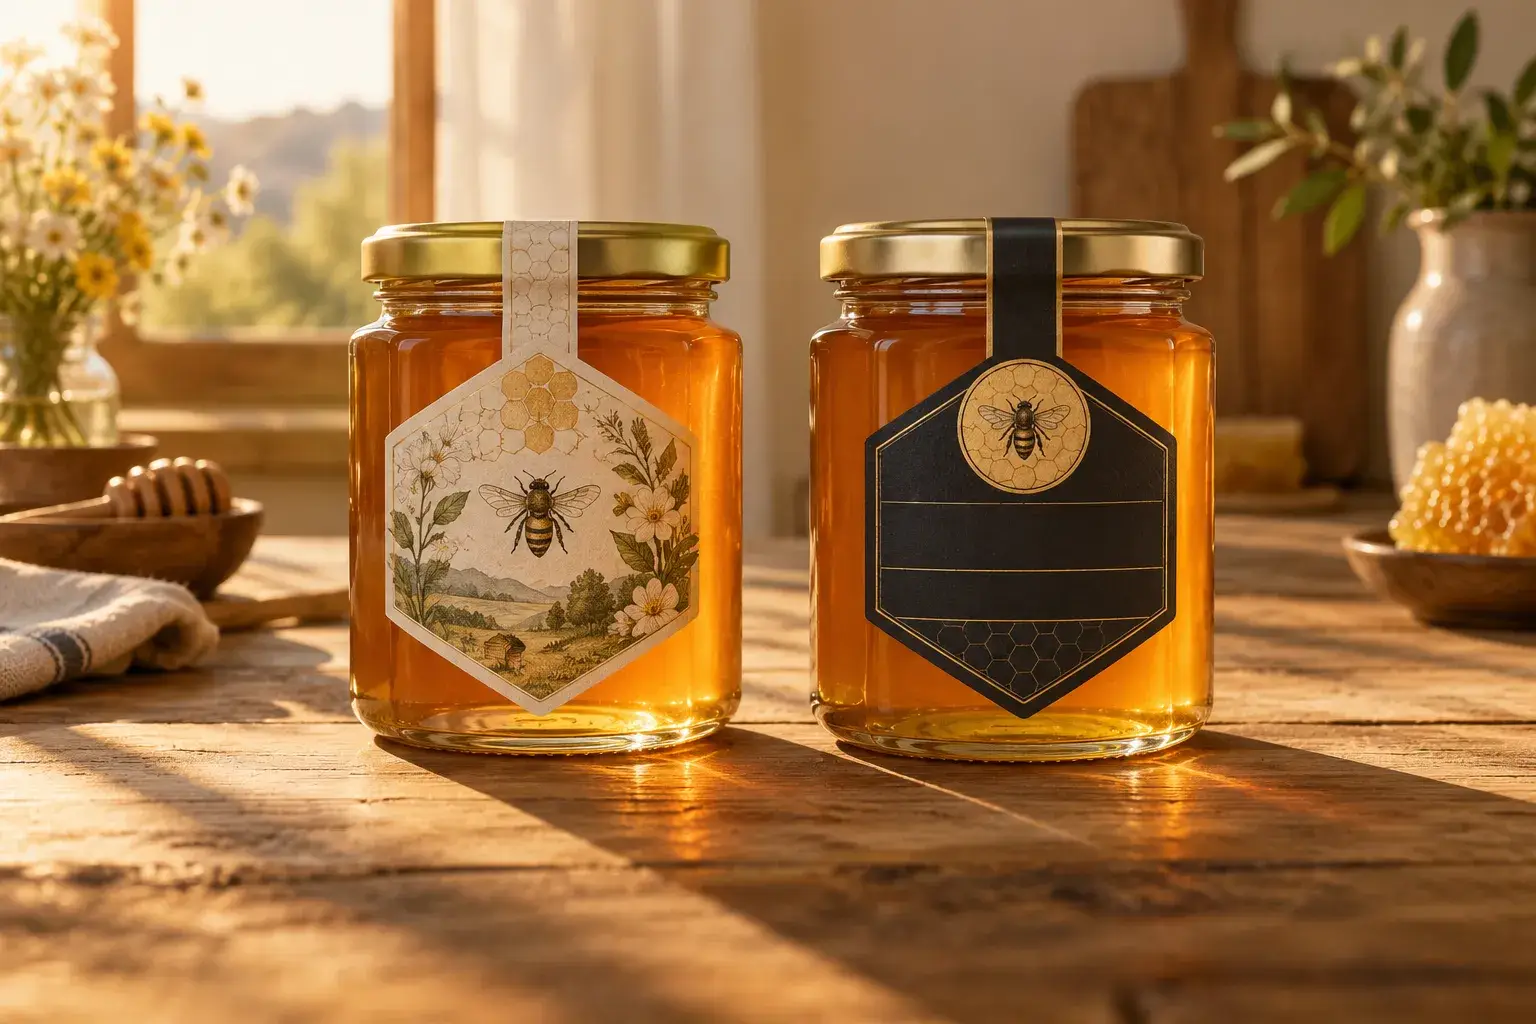
Two styles work particularly well with a hexagonal design: an ivory background with a delicate botanical illustration, or cream or kraft paper with a drawn bee. For a product range, the same template can be retained while varying the colour and illustration. Any claimed floral origin must then be substantiated.
Choose a design to personalise
Starting with a custom label template saves time. The matte black hexagonal template from Votre Étiquette measures 53 × 60 mm : its stylized bee and golden details make room for the apiary name, the logo and the mandatory information. The Beekeeper-inspired design template It uses the same format, with a central bee alongside the type of honey and the net weight. Its layout adapts to different jar sizes.
Ideal when appearance matters as much as content, the black model with vertical sealing strip measures 78 × 150 mm. Its round top can display the best-before date. The hexagonal section contains the honey name and packaging information, while the tricolour patterned band can be customised.
Make the label compliant and easy to read
A well-designed layout does not exempt you from complying with regulations. Labelling a jar of honey is subject to specific rules regarding the product name, date, origin and font size. Each of these rules affects the design.
Specify the honey's identity
The accepted designation is “honey”, “flower honey” or “honeydew honey”. However, “all-flower honey”, “liquid honey” or “golden honey” are not sufficient on their own. The net quantity, in grams or kilograms, refers to the honey excluding the jar. The name and address of the responsible operator must also appear: neither a website nor the packer’s contact details automatically replace them. A single-ingredient honey is normally exempt from an ingredient list and, if unprocessed, from a nutrition declaration. The addition of royal jelly requires a descriptive designation.
Specify the date and origin
The best-before date is introduced by “Best before…” or “before the end of…” depending on its level of precision. The origin refers to the country of harvest, not the country of packaging: manuka honey harvested in New Zealand and then packaged in France must state New Zealand. Since 14 June 2026, Decree No. 2026-312 requires blends placed on the market from that date onwards to indicate the countries of harvest in the main field of vision, in descending order by weight, together with their percentages.
- Best-before date details For a shelf life of 3 to 18 months, the month and year are generally required. Beyond 18 months, the year alone may be sufficient.
- Batch number : it may be omitted under certain conditions if the best-before date includes at least the day and month.
- Mixture percentages : a margin of 5% for each share is allowed. Beyond four countries, only the four main shares may be quantified if they exceed 50% of the blend.
Below 30 g, two-letter ISO 3166-1 country codes may replace names. Products labelled or placed on the market before 14 June 2026 benefit from transitional provisions.
Check legibility and claims
Regulation (EU) No 1169/2011 sets the minimum height of the letter “x” at 1.2 mm for mandatory information. It is reduced to 0.9 mm if the largest surface area of the container is less than 80 cm². This information must remain visible, legible and indelible on the honey label.
The weight figures follow a different rule. The decree of 20 October 1978 requires 2 mm up to 50 g and 3 mm from 50 g inclusive to less than 200 g. The height increases to 4 mm from 200 g inclusive to less than 1,000 g. Above 1,000 g, it reaches 6 mm.
The wording remains. According to the DGCCRF, “pure honey” and “natural honey” are not authorised promotional claims. Illustrations, “local” or “artisanal” claims, and label logos must correspond to the actual product. A QR code may supplement the label, without replacing any mandatory information.
Adapt the hexagonal shape to the jar
With the required information established, it still needs to be placed on the container. No universal legal label size is determined by capacity: the shape of honey jars and their usable surface area determine the format.
Measure the actually usable area
For a hexagonal jar, measure the width of one flat side rather than the overall width. The edges, shoulder and base are outside the usable area.
A cylindrical jar presents another issue: the points of a front hexagonal label may lift if they extend beyond the least curved area. On a rounded or conical jar, a large rectangle may wrinkle, whereas a shorter shape or one tailored to the curve reduces this risk.
Calculate the available space
For a wrap-around label, the theoretical circumference is C = π × D. With a usable diameter of 70 mm, it is approximately 220 mm. A 200 mm label therefore theoretically leaves 20 mm before application tolerances.
For a regular hexagon with side length s, the width between opposite points is 2s, and the width between opposite sides is √3s. A 52 × 60 mm hexagon covers approximately 23.4 cm², compared with 31.2 cm² for its bounding rectangle. This regular hexagon therefore retains approximately 75% of the surface area before margins. For reference, common rectangular formats are listed below, with no standard value.
| Pot capacity | Indicative rectangular format |
| 50 g | 60 × 25 mm |
| 250 g | 60 × 40 mm |
| 500 g | 80 × 50 mm |
| 1 kg | 110 × 75 mm |
Adjust the cut and layout
A real hexagonal template does not always follow regular geometry. Its surface area is calculated from its die-cut outline. When there is not enough space on the front, a back label can contain the regulatory information and leave the design on the front.
On a small jar, the design is scaled down before the mandatory information. If it still cannot fit legibly, Votre Étiquette lets you adjust the dimensions in the editor or request a custom cut.
Prepare and test adhesive label printing
Once the template has been approved, the material and the file determine the result on the honey jars. In practice, every choice is verified on the final jar, not just on screen.
Choose the material and adhesive
Each paper produces a different finish. For all of them, the contrast of small text and resistance to moisture should be checked.
- Matte white paper a clean, easy-to-read finish.
- Kraft paper a handcrafted look, with more delicate contrast for small text.
- Coated paper vivid colors for an illustrated design.
A transparent film reveals the colour of the honey, but it may require a white backing to maintain contrast. A white synthetic film generally offers better resistance to moisture, with an adhesive suited to glass. The material-adhesive combination depends on condensation, drips, storage conditions and application temperature. Even a removable adhesive should be tested, both for adhesion and removal.
Prepare the cutting file
The file separates the technical die-cut outline from the artwork. The background extends into the bleed area, and important information remains within a safe zone. A roll-printing technical guide recommends approximately 2 mm of bleed and at least 2 mm of inner margin, without making this a general requirement.
For an imported design, Votre Étiquette recommends a PDF with at least 1 mm of bleed. The 53 × 60 mm templates require a file of 55 × 62 mm. The 78 × 150 mm sealing model requires 80.1 × 152 mm.
This same technical specification requires PDF/X-4:2010 format, with embedded or outlined fonts. CMYK colours, as well as any supporting white on a transparent or dark background, should be checked with the provider.
Check the preview before printing
Votre Étiquette's online editor lets you add text, images and logos, or upload an existing design. Changes are displayed instantly, before you order any custom labels.
The on-screen preview is not enough. A full-size printed prototype, applied to the filled and sealed jar, reveals reflections, readability, alignment, the placement of variable information and any possible lifting at the corners.
The proof is then used to check the text, colours, die-cutting and batch placement. Keep the editable artwork and regulatory versions: this will simplify the labelling of subsequent harvests. The label actually printed must still be checked for each print run.