Create a wine bottle label with a photo for Christmas
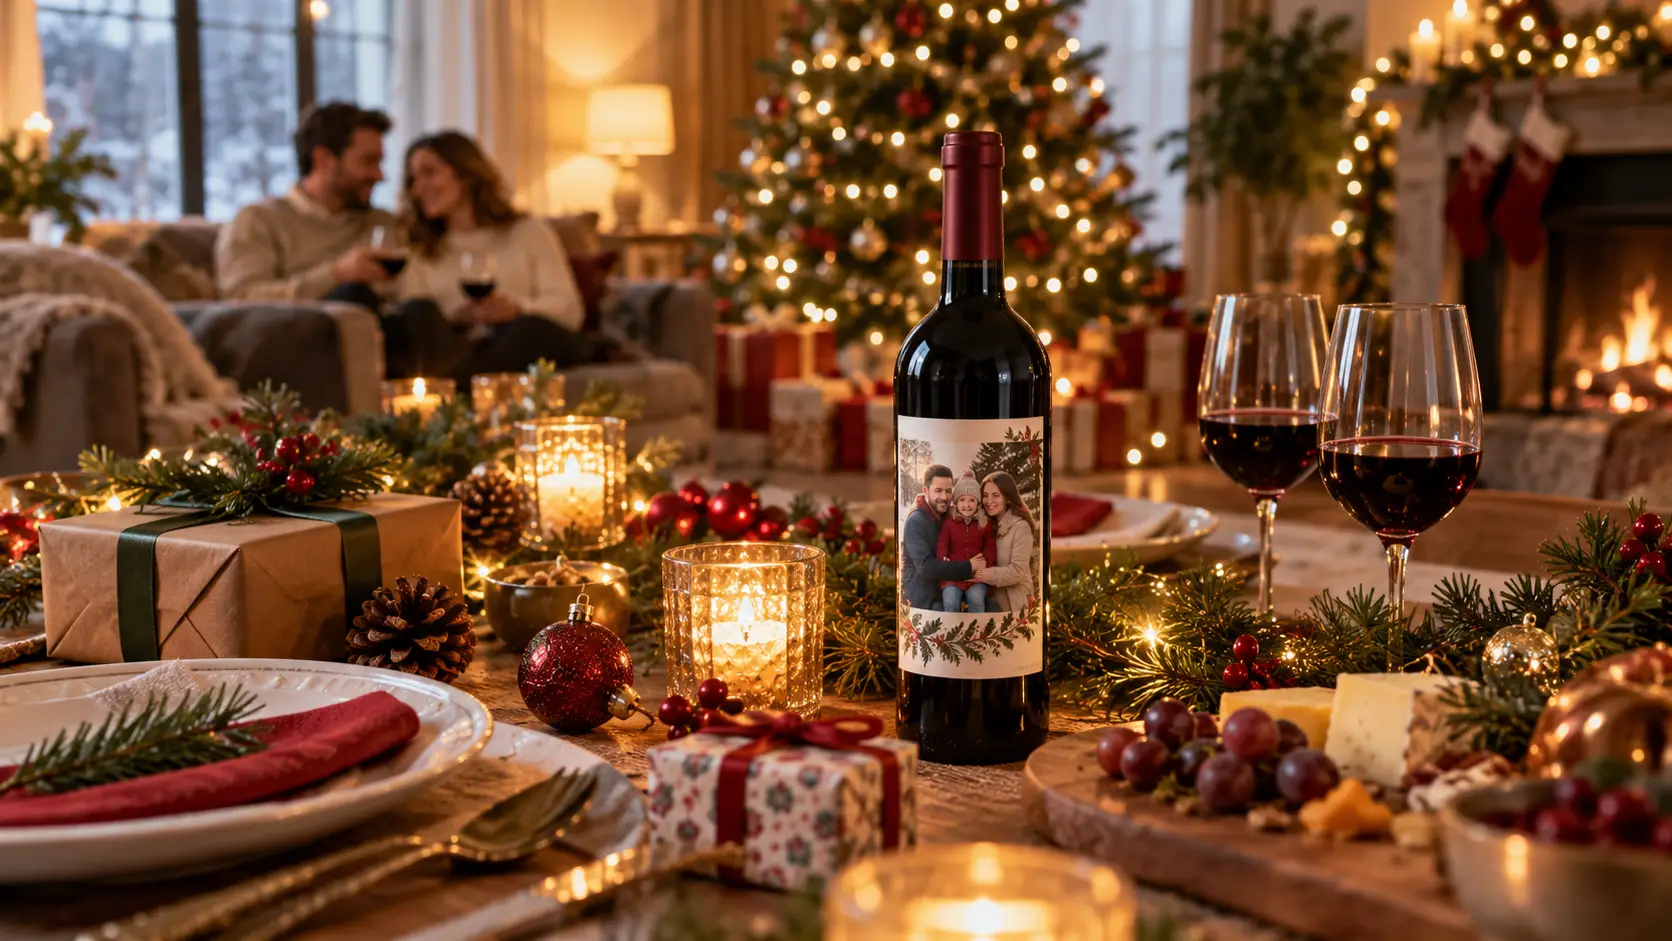
Creating a personalised Christmas wine bottle label with a photo requires a few simple steps. Measure the bottle, choose a suitable image and design the label in the online editor. Next come checking the preview and applying the label. In between, it is printed on premium adhesive material made in Europe.
Prepare your Christmas label project
Before opening the editor, two elements need to be prepared: the bottle that will receive the label and the photo that will illustrate it. The format depends on one. Print quality depends on the other. A third point must be addressed from the design stage: the right to reproduce the selected image.
Measure the available area on the bottle
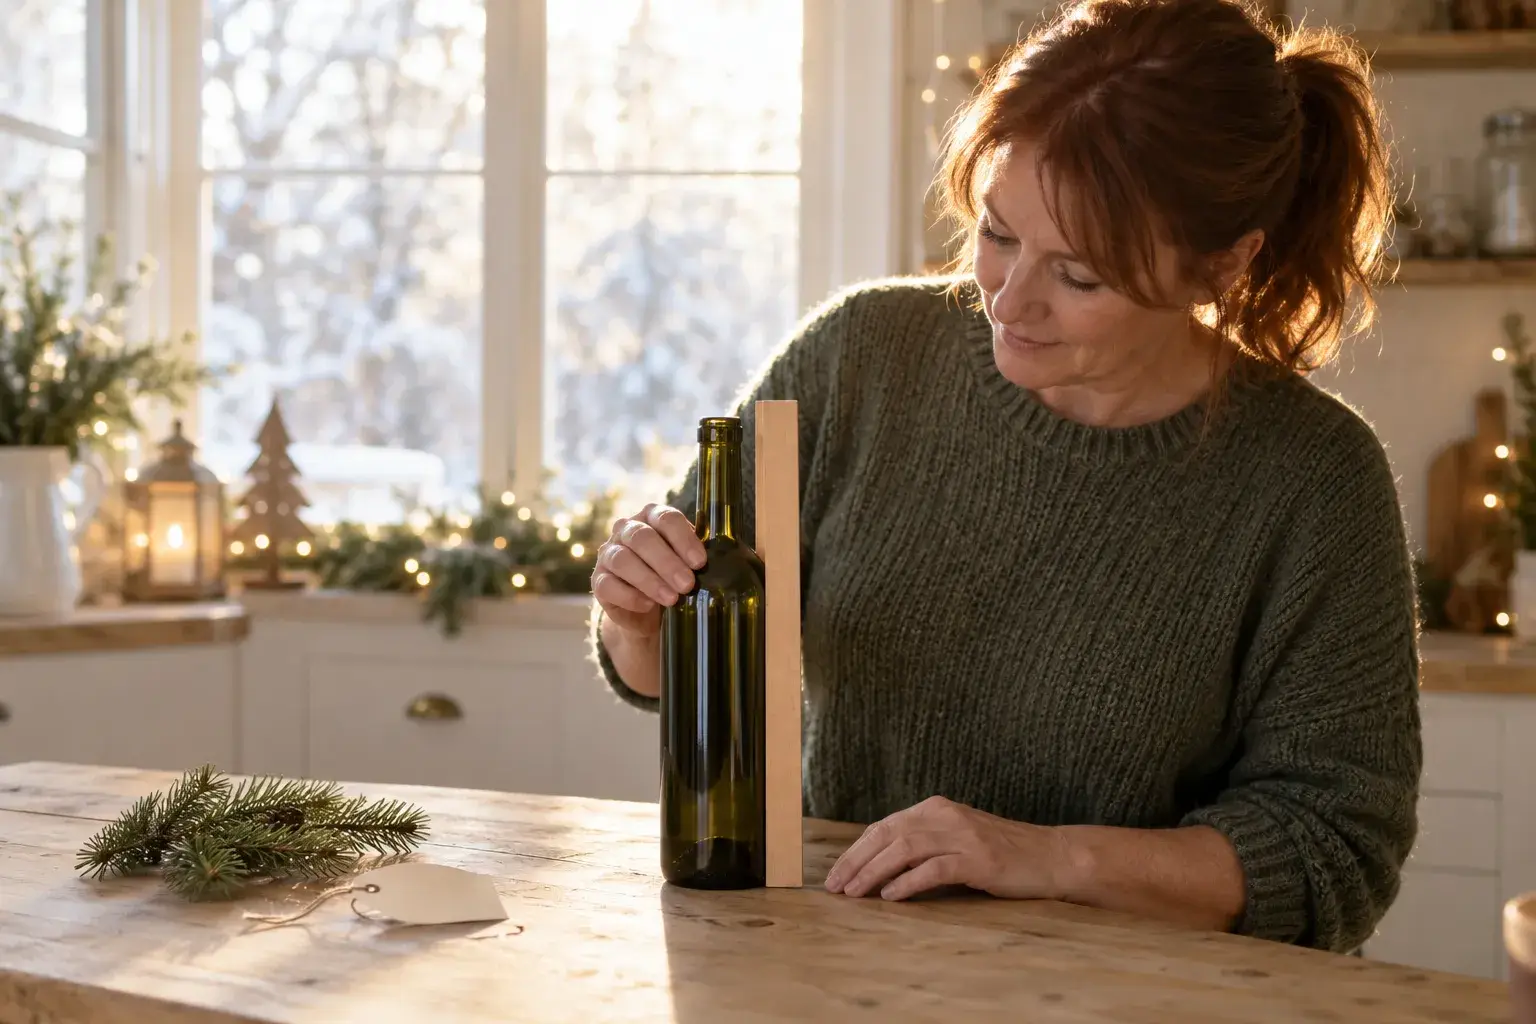
No single label size is suitable for every wine bottle. The format should therefore be checked on the container you are going to give as a gift, rather than based on a standard size. A Bordeaux bottle, a Burgundy bottle, or a wider bottle do not offer the same surface area. A flexible tape measure, or a strip of paper wrapped around the glass, will provide the usable circumference.
Measure the cylindrical part of the bottle: this is where the label lies flat. Avoid the shoulders and pronounced curves, where the material cannot adhere without forming wrinkles. Also leave some free space below the neck and cap: this way, the label remains fully visible when the bottle is slipped into a gift bag or basket.
Choose a photo suitable for printing
Start with the original full-resolution photograph rather than an already heavily cropped file. A sharp, well-lit image makes it possible to reproduce the details on the label. A photo taken in daylight near a window generally produces more accurate colours than a dark flash photo taken during a New Year's Eve celebration.
Conversely, a screenshot is often misleading. It may look sharp on a phone, then lack resolution once printed at the label size. To retrieve the original, ask the person who took the photo for the file rather than saving it from a messaging app, which often compresses images.
Verify the rights to the photo
Having the file of a photograph taken by another person does not grant the right to reproduce it. In France, Article L122-4 of the Intellectual Property Code generally requires the rights holder's consent for any reproduction. An image found on the Internet may only be used if its licence authorizes such use.
Image rights are added to copyright as soon as a person is recognizable. Depending on the intended use, and especially in the case of distribution, their authorization may be required. In practice, asking the photographed individuals for their consent avoids any unpleasant surprises when giving the bottle as a gift.
Start creating in the editor
Once the bottle has been measured and the photo selected, creation begins at app.votre-etiquette.com. The online editor offers ready-to-customize templates. Choosing a template provides a starting point, then the layout and format are tailored to your project.
Choose a Christmas design
The Votre Étiquette editor lets you create a personalized label for a bottle of wine to give as a Christmas gift. The festive designs are also suitable for other bottles of alcohol:
- Traditional patterns Christmas trees, snowflakes and Christmas baubles.
- Colourful worlds red, green or gold designs.
- Other containers variations for champagne and beer.
All these worlds come together in the collection of personalised labels for ChristmasFirst, select the color palette that matches your photo. If no template is suitable, the editor’s AI assistant creates a label from A to Z based on your instructions.
Find a layout for the photo
Some wine label designs already include a space for a photo. They make it easy to personalise a gift without having to start from scratch.
A festive design on a black background, decorated with Christmas motifs, illustrates another approach. The “Merry Christmas” label template on a black background Reserve a central medallion for the name or message.
In practice, the choice depends on the prominence given to the image. A photo placement highlights a portrait. A medallion, on the other hand, places greater emphasis on the text.
Adapt the template to the project
Votre Étiquette offers rectangular, round, oval or custom wine labels. The selected format must match the measured area on the actual bottle. A rectangular format provides the largest area for the photo, while a round or oval format naturally frames a portrait.
A design created elsewhere can also be imported into the editor. It is then adapted to the selected format before printing. If the imported file raises any questions, the desktop publishing team at Votre Étiquette, based in France, will help adapt it to the required format. For printing handled by another provider, follow their template: accepted formats, resolution and margins are not universal.
Customize the Christmas design with a photo
With the design and format set, it’s time to personalize. In the editor, a Christmas wine bottle label combines a personal photo with a festive greeting. Each element can be positioned, colored, and adjusted directly on screen.
Add and position the photo
Upload your photo to the designated area, then position it according to the shape of the bottle:
- In the center Faces and important elements remain aligned with the centre of the design.
- With a margin Leaving some space around the design prevents it from becoming distorted at the sides due to the curvature.
- Personal details Upload your own graphics to complement the photo.
The illustrations available in the editor are another option if no personal graphic is available. A snowflake or a star placed in a corner is enough to evoke the celebration without competing with the photo.
Write the Christmas message
The photo calls for a short message. A “Merry Christmas” is often enough to set the tone. Other phrases work too: “Best wishes,” “Happy Holidays,” or a family-specific message.
The recipient’s first name then makes the gift personal. It can take center stage or accompany the message. A well-designed label creates a hierarchy between the two: the first name in large type and the message in smaller type, or vice versa.
Finally, the year is added when the gift is meant to commemorate a specific Christmas: a family gathering, a birth, a first celebration together.
Adjust and adapt the layout
The template’s colors change to match the photo. The fonts are also adjusted, for example to clearly distinguish the first name from the message. Strong contrast ensures readability: light lettering on a dark photo, dark lettering on a light background. No more than two fonts are needed to keep the design easy to read.
For a set of gifts, the same Christmas design can be reused. Only the name or photo changes from one recipient to another. Each bottle then becomes a unique gift, while maintaining a shared identity around the table.
Check the preview before confirming
Once the design is complete, the preview makes it possible to spot errors before printing. The Votre Étiquette editor displays the result in real time. Three points should be checked: the framing, the text, and the consistency of each label.
Check the photo framing
View the preview as the final label. The real-time rendering shows the exact position of the photo in the selected format.
- Position The image stays properly positioned within the format.
- Group photo no face is cut off by the cropping.
- Margins the subject stays away from the edges.
If a face extends beyond the frame, move or reduce the photo, then check the preview again.
Check the readability of the text
The text must stand out clearly from the photo. Check that the characters are legible at the label's actual size, not just when zoomed in. Then review the first names, message, accents and year before confirming. The colour and transparency of the material also affect how the photo colours are perceived: the on-screen preview alone does not guarantee an identical printed result.
Confirm the appearance of each label
The image orientation is checked before approval. A landscape photo is not viewed in the same way as a portrait.
The reading direction must remain logical once the label is applied to the bottle: the message can be read without turning your head when the bottle is standing upright on the table.
For multiple personalized labels, check that each first name is matched with the correct photo. It’s the detail that makes all the difference when printing: a mix-up between recipients is noticed too late.
Finalize the bottle label
Once the preview has been approved, all that remains is to choose the material, place the order, and apply the label. Each of these steps affects the label’s durability and the final appearance of the gift.
Choose the material and confirm creation
The difference lies in the material you choose. Votre Étiquette offers several materials, detailed in its catalogue of personalized wine labels :
- Textured paper a refined feel for an elegant bottle.
- Natural kraft paper a raw, warm look.
- Waterproof polyester a water-resistant film.
- Use while chilled : materials resistant to moisture and cold, for the cellar or refrigerator.
Christmas labels can be ordered in small or large quantities, with no minimum order required. This means that even a single bottle can be dressed up. Votre Étiquette prints from just 1 copy and delivers within 48 hours via Chronopost, leaving plenty of time when the gift is decided on just a few days before Christmas Eve.
Choose labels over printing on glass
With a personalized label, the photo is printed on the adhesive material applied to the bottle, rather than directly onto the glass. Direct printing on glass is a different approach: whether a colour photo can be reproduced on it depends on the process and the provider. Laser engraving, on the other hand, does not reproduce colour photographs, as its finish is mainly monochrome or frosted.
The label has another advantage: it can be applied to the bottle of your choice, selected from a wine merchant or from your own cellar. A ready-made bottle of wine sold with a photo label is a different product, which dictates its contents.
Prepare and align the application
Once the label has been received, prepare the bottle. Clean the glass, then dry it thoroughly before applying the label: greasy or damp glass prevents the adhesive from sticking across the entire surface.
Next, position the label and align it before pressing it down permanently. Masking tape placed at the correct height serves as a guide to keep the label parallel to the bottom of the bottle.
Apply the label flawlessly
Apply the label gradually, from one edge to the other. This helps prevent bubbles, wrinkles and fingerprints. A flexible card, held flat against the surface, helps push out the air as you go.
Durability depends on the material, adhesive, humidity, and the bottle’s conditions of use. For a bottle that will be placed in the refrigerator or an ice bucket, waterproof polyester reduces the risk of peeling.
When the manufacturer specifies an application temperature or adhesive setting time, follow these instructions.