How to create personalized Halloween labels
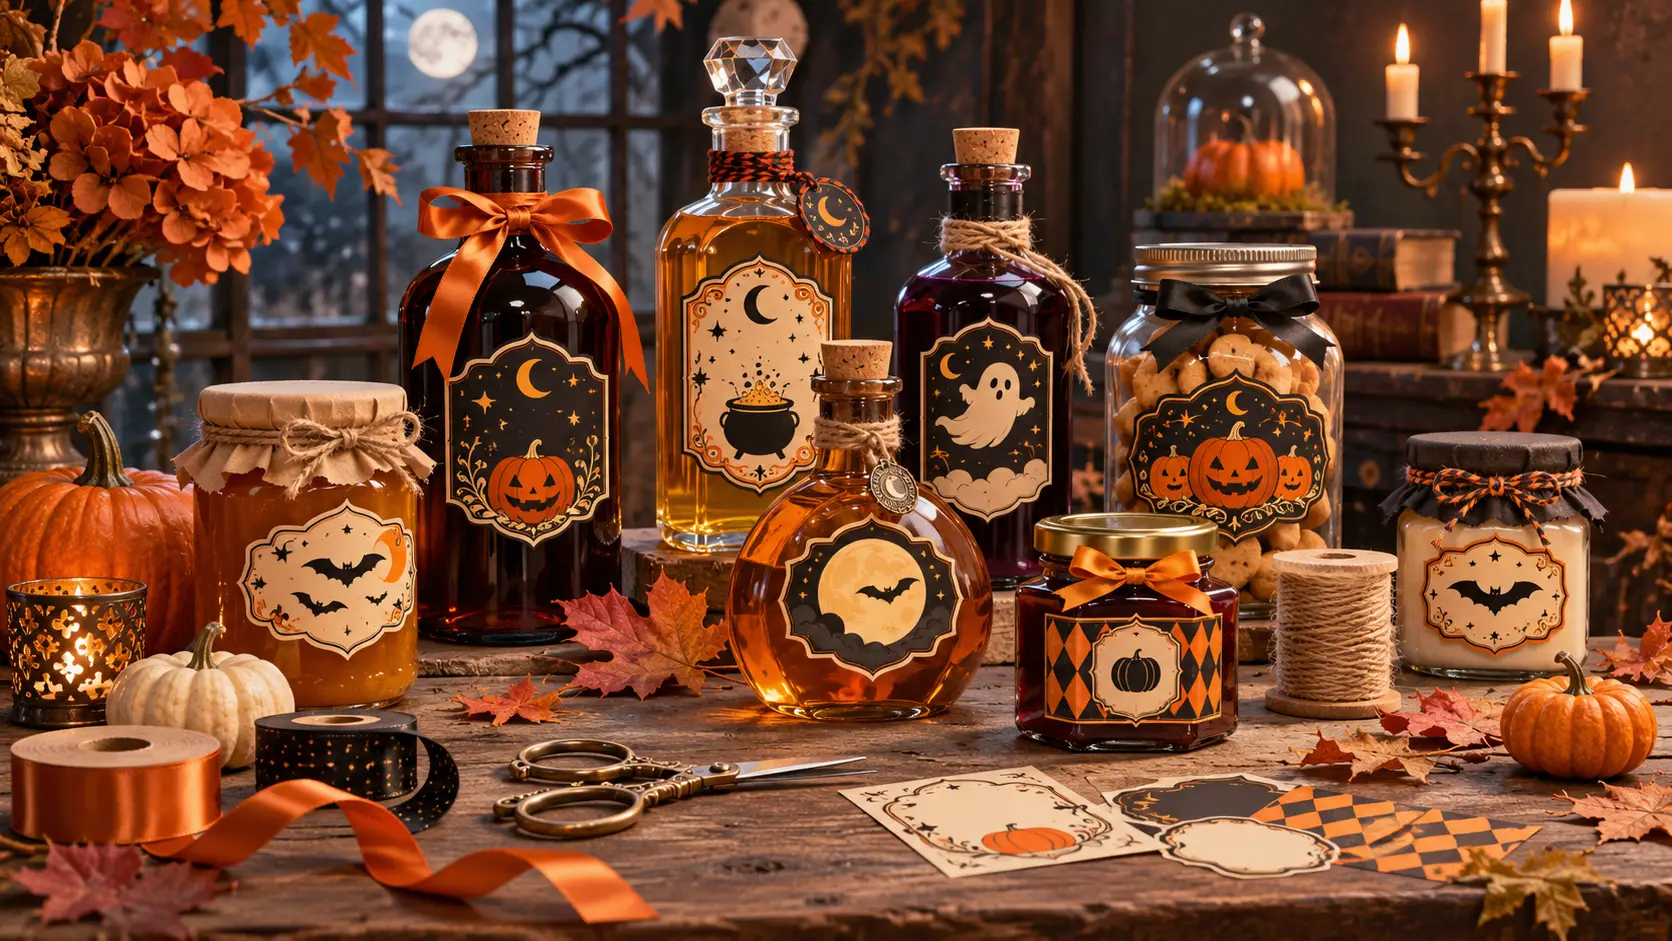
Creating personalized Halloween labels starts with the idea, then measuring the container. Potion bottles, ingredient jars, treat jars: each requires suitable text, format and material.
Imagine Halloween texts and visuals
A potion label works like a small stage set. The name sets the mood, the secondary details tell the story, and the design ties the containers together. These three layers are prepared before opening the editor.
Name the potions and ingredients
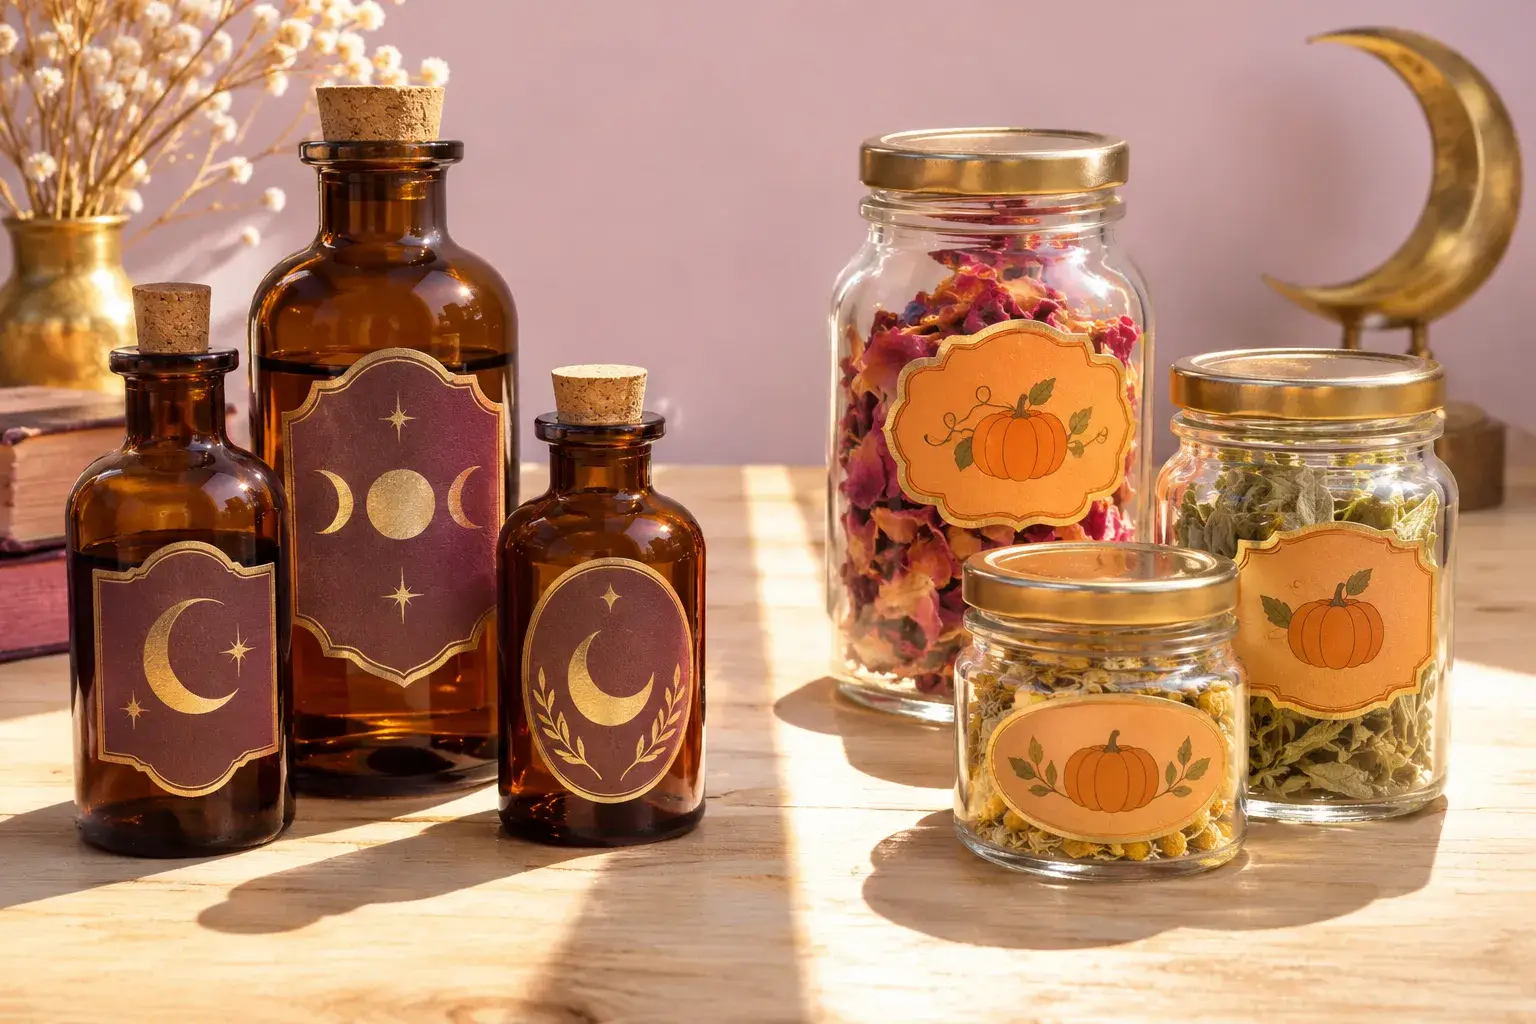
On a bottle, a fanciful name is enough to create the effect: “Midnight Elixir,” “Moon Essence,” or “Invisibility Mist.” Jars, meanwhile, hold imaginary ingredients such as “Bat Powder,” “Mandrake Roots,” or “Dragon Scales.”
The title benefits from being complemented by a narrative detail. A potion number, an invented origin, or the mention “Prepared under the full moon” will do the trick. A humorous warning adds the finishing touch.
Build a consistent visual identity
Two styles dominate. The old apothecary style combines brown, beige, and black with illustrations of herbs and vials. In contrast, the witchcraft style uses purple, black, and green, with moons and cauldrons. For a series, keep the same colours, borders, and fonts, and change only the name of each potion.
The size of the container then determines the density. A large label can accommodate an emblem, an illustration, a short description, and a decorative number. On a small vial, these secondary elements disappear, allowing the title to retain its full prominence.
Adapt the designs to gifts and celebrations
Votre Étiquette offers a Halloween template for a gourmet jar : pumpkins, ghosts, moons and chocolate-themed elements come together in shades of orange and black. Labels for beer bottles or jam jars also add to the festivities, provided the name of the drink is clearly distinguished from the secondary information. Text, colours, photos or logos can be adapted to the homemade treats being given as gifts.
Measure the containers and choose the format
A successful label first depends on the surface it is applied to. A curved bottle does not have the same circumference at the top and bottom. A jar has raised areas. Measuring each container prevents wrinkles and peeling edges.
Check the available area on the bottles
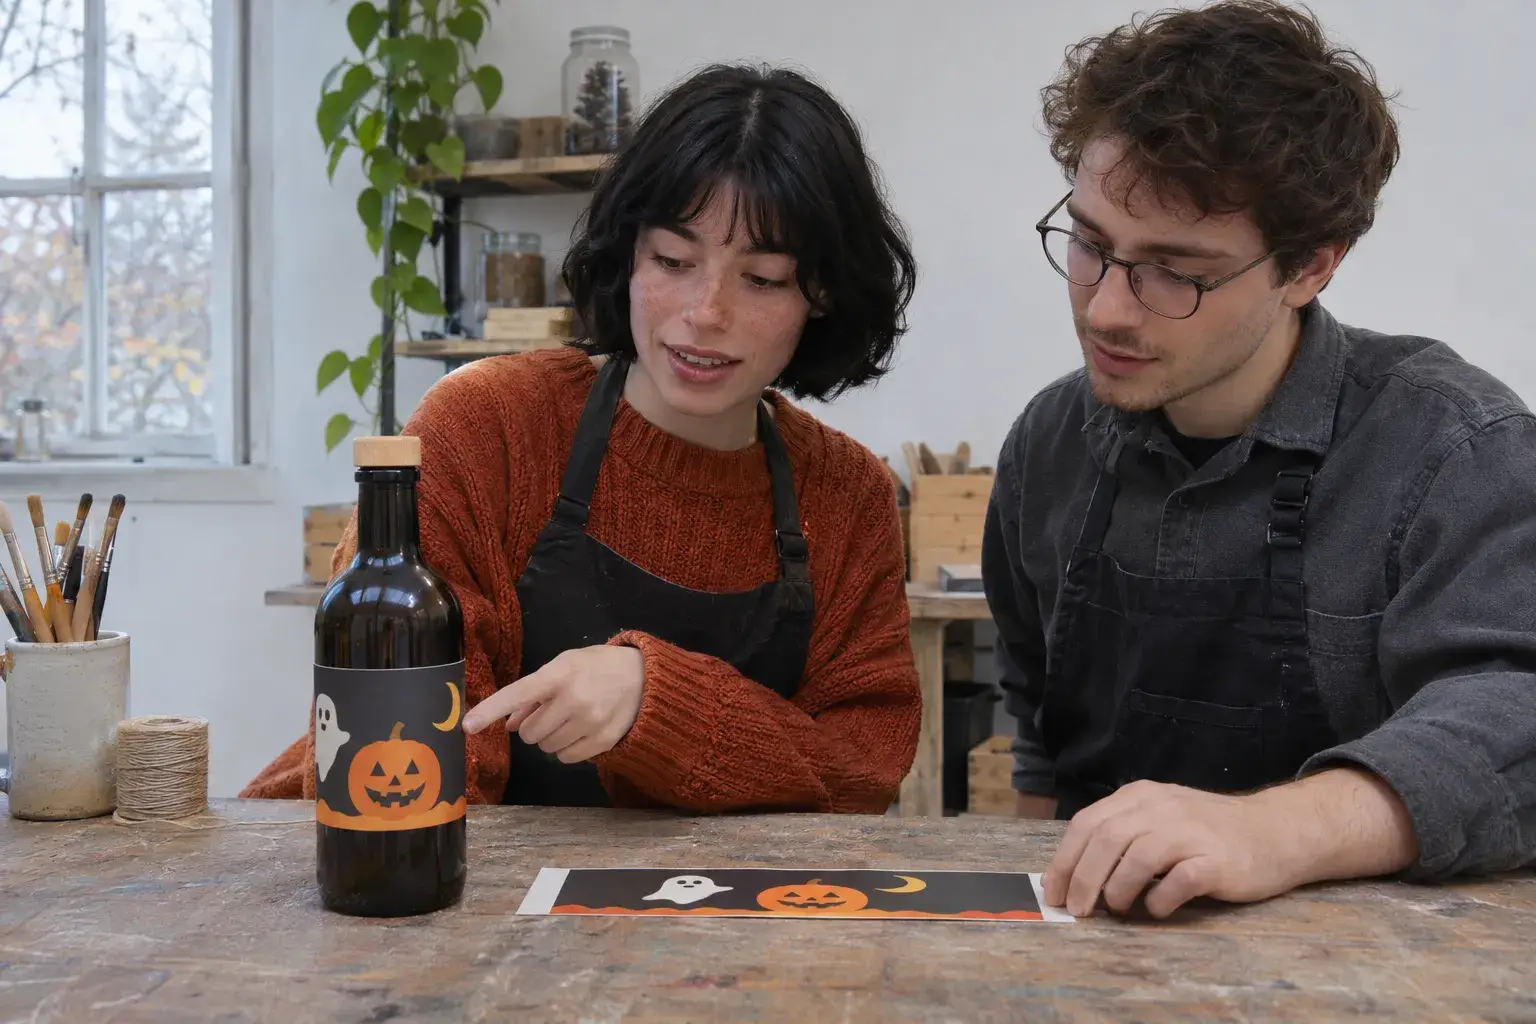
Place the bottle on a stable surface and locate the intended position. Wrap a non-stretch paper strip around it, mark where the ends meet, then measure the strip. The measurements then vary depending on the shape:
- Curved bottle circumference at the top, middle and bottom of the area, then usable height.
- Cylindrical bottle circumference at the selected location and height of the straight section.
- Narrow vial circumference and available height.
- Pot : diameter and body height.
On a curved shape, these three measurements prevent two defects. A label that is too wide may wrinkle. A label that is too tall may overlap a curve.
Identify the flat surfaces of the jars
On a jar, choose the flattest side. The label corners should avoid shoulders, ridges and raised areas. For a lid, measure the diameter of the truly flat area and keep the round label away from the edge.
These considerations guide the choice of shape: rectangles suit bottles, ovals suit vials, and circles suit lids. A single Halloween collection can combine all three, including with jam jar labels.
Adjust the template before creating
A front label must be narrower than the measured circumference. For a wraparound label, check where the ends meet and leave a gap between them unless an overlap is desired.
The Votre Étiquette Halloween template measures 165 × 60 mm. In the editor, its width, height, and square or rounded corners can be adjusted to fit the jar, box, or pouch to be decorated.
In practice, a plain paper prototype placed on each container reveals the actual curvature and proportions. The container dimensions provided with a template do not always correspond to those of the label to be cut out.
Create a readable, print-ready file
Once the template has been approved, it’s time to create your design. There are two options: customize a template online or upload a file prepared elsewhere. In both cases, readability and technical preparation determine the printed result.
Customize the template in the editor
The Votre Étiquette editor works directly in your browser, with no specialized software or graphic design skills required. The design is displayed as you make changes.
A design that has already been created can also be imported there. Useful features for a Halloween collection:
- Text and colours Modification of the potion name, wording and shades.
- Graphic elements freely move each element on the label.
- Images and logos adding your own illustrations.
- AI Assistant Create a label based on your specifications.
Structure the composition so that the potion’s name remains easy to spot at first glance, without the decoration overwhelming readability.
Check text and contrast
On a small jar, fully Gothic lettering quickly becomes illegible. Reserve the decorative font for the potion’s name and choose a simple font for secondary information.
For an initial test, start with 12–14 pt for the name and 8–9 pt for the subtitle. Allow 7–8 pt for the description. Secondary information can go down to 7 pt. These sizes should still be tested on the container.
A telling test: print a 45 × 30 mm label at 100% in three versions, with 6 pt, 8 pt and 10 pt text. Apply them to the jar. Then, from 30 cm away, check the accents, small print and contrast under household lighting.
Prepare images and printing
On paper, a black or deep purple background can obscure fine details. Lighten important elements and choose off-white or pale yellow text rather than dark grey on purple. For images, the reference point is 300 dpi at actual size : a 70 × 50 mm illustration therefore requires approximately 827 × 591 pixels. The screen's RGB tones may also change when converted to CMYK, the printing ink mode.
For a file uploaded using the 165 × 60 mm template, allow for at least 1 mm of bleed on each side, i.e. 167 × 62 mm. This bleed extends the design beyond the cut line. Votre Étiquette recommends PDF format, which preserves the layout and dimensions. For home printing on an A4 sheet measuring 210 × 297 mm, arranging the labels is a separate step: check the template on plain paper at 100%, with no automatic scaling, using compatible self-adhesive material, then cut them out.
Choose the surface and apply the labels
With the file ready, all that remains is the material and application. A bottle kept chilled does not impose the same constraints as a jar placed on a shelf. The application itself requires a few precise steps.
Choose the material based on its intended use
The difference lies in the material chosen, depending on whether the container stays dry or is exposed to cold. Each material has its own ideal conditions:
- Matte paper Soft finish for dry indoor decoration, but sensitive to water, stains and rubbing.
- Kraft paper aged appearance, with reduced visibility of fine details.
- Polypropylene film suitable for jars and bottles that are handled or exposed to splashes.
- Transparent film : lets the glass show through; a white underlayer helps on coloured glass.
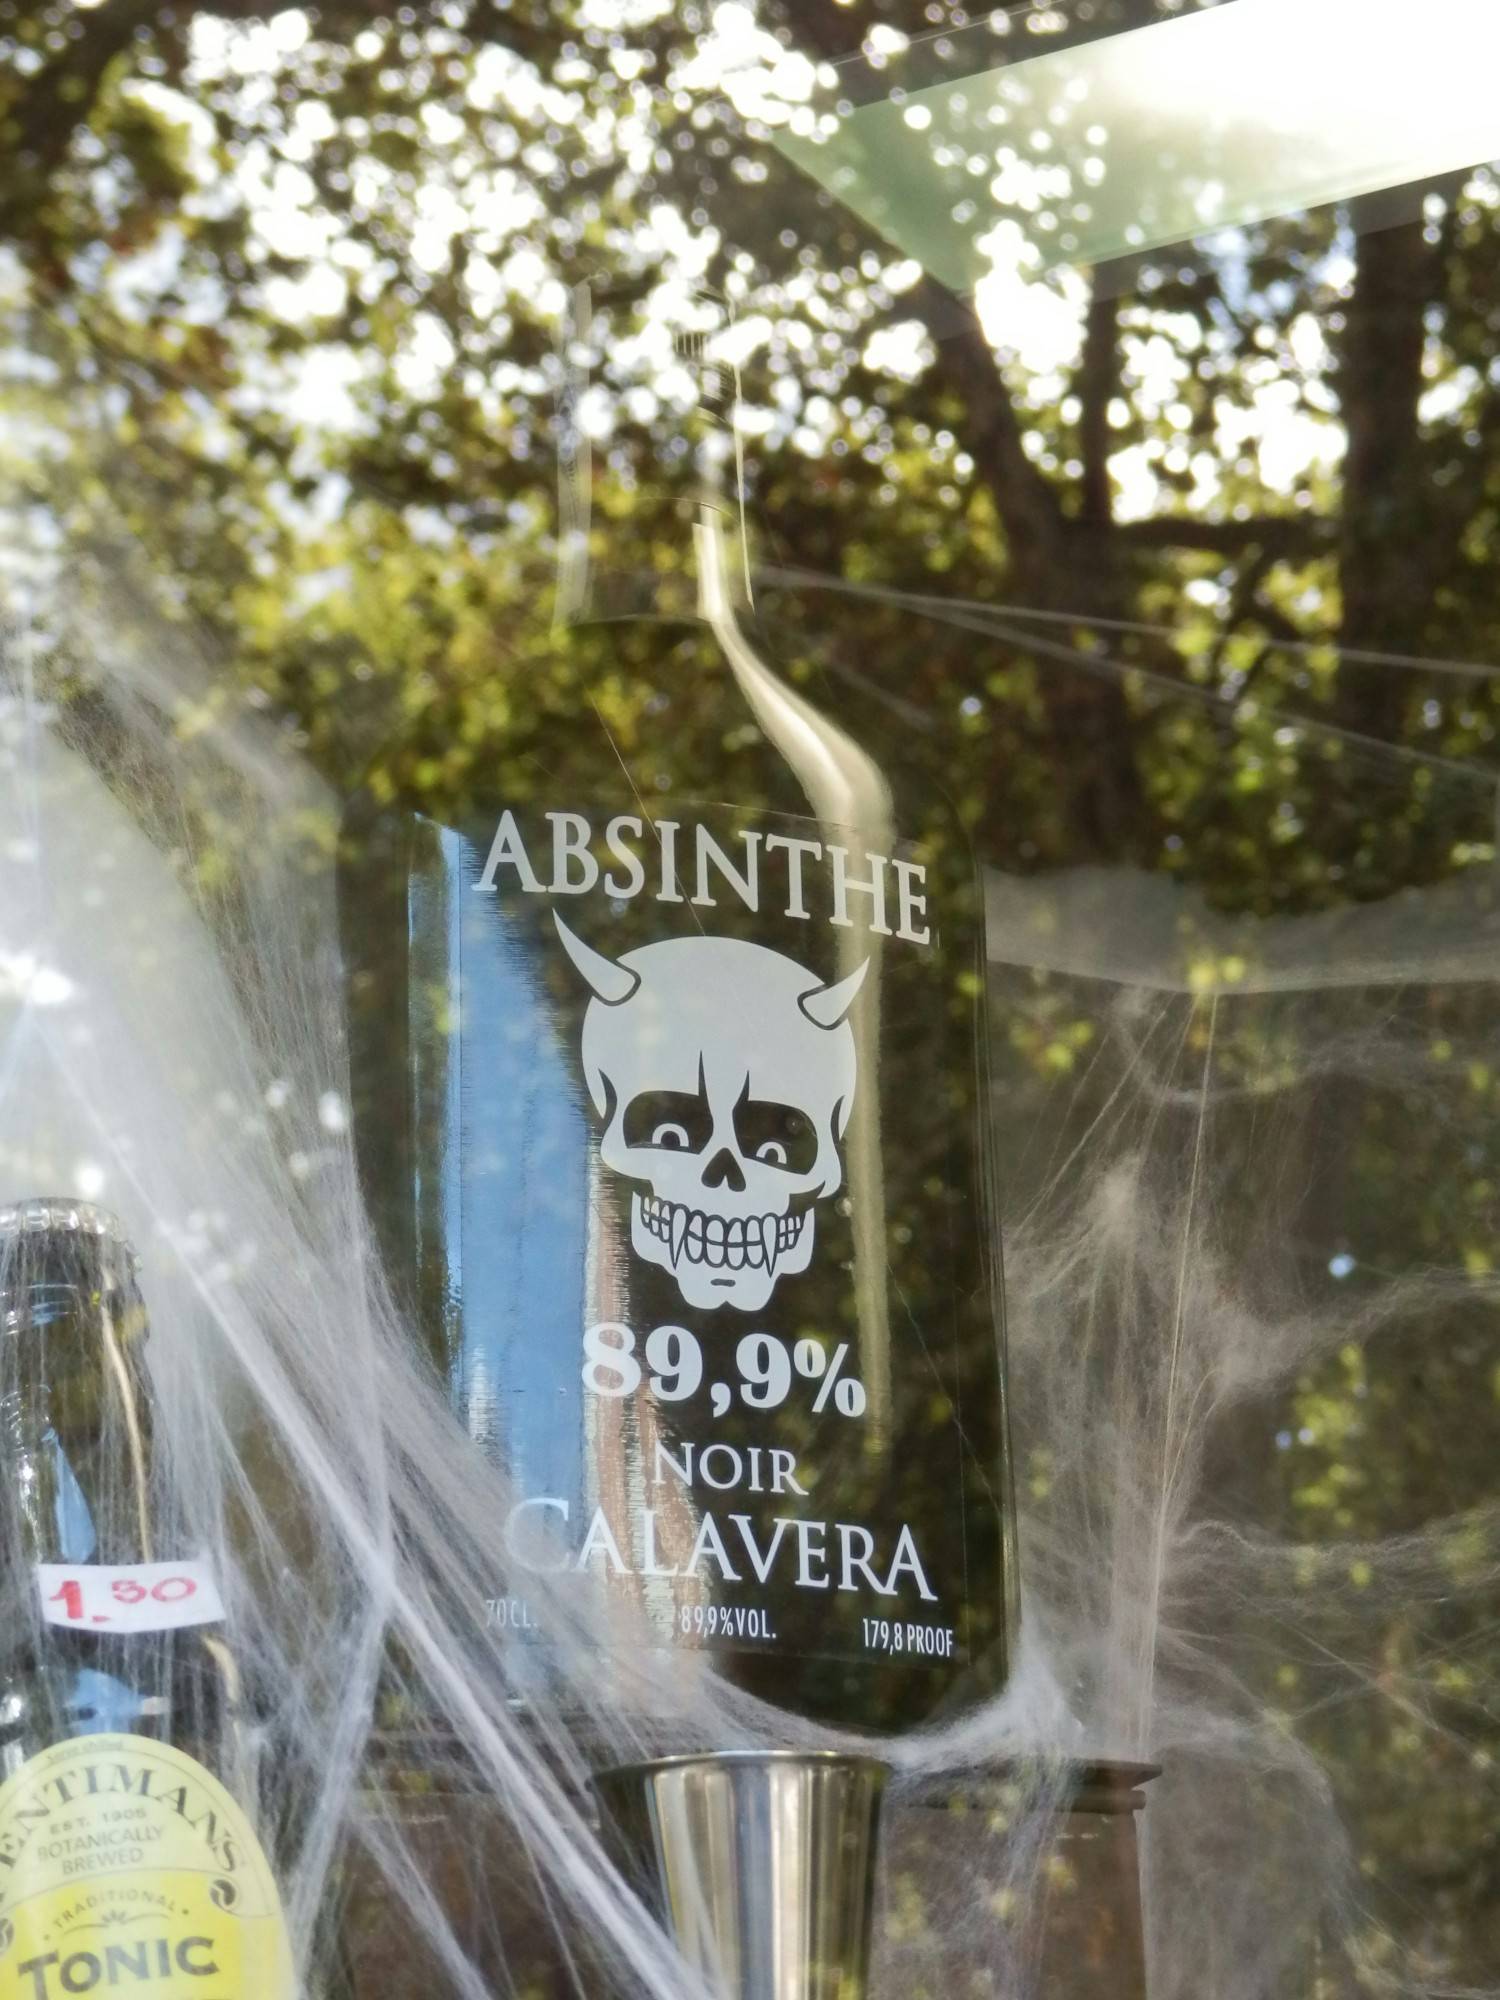
For a bottle kept cold or covered in condensation, such as customized labels for beer bottles, three types of resistance are assessed separately: that of the material, that of the printing, and the adhesive's hold. A film that withstands moisture does not guarantee the whole.
Sticks cleanly to glass
First, remove any dust, grease and old adhesive residue from the glass, then ensure it is clean and dry. A label that withstands cold once applied is not necessarily suitable for application to cold, damp glass: wait until the temperature is compatible with the adhesive and remove any condensation.
Position the label before fully removing its backing. Then apply it from the centre outwards and smooth it down with a clean cloth or a flexible squeegee. Check the alignment, bubbles, creases and edges, then allow the adhesive to settle before returning the container to the fridge.
Keep the decoration separate from the product
A whimsical potion label does not replace the mandatory labeling of a real product. For a hazardous chemical product placed on the market, the European regulation CLP (EC No. 1272/2008) may in particular require hazard pictograms and statements.
For food use, according to the DGCCRF, a container intended for food must be suitable for food contact under its conditions of use; an external label does not certify this. Flammable decorations must also be kept away from flames.